


|
|
|
|
|
|
|
|
Help Displaying Maps
This page contains information to help you display maps in MapTube.
The topics covered are:
Colour Scales
Fading Layers In and Out
Moving Layers Up and Down
Editing the Map Selection
Linking to Maps
Help Creating Maps is covered in a different section.
Overview
The map page is the main part of the Maptube website and allows the display of multiple layers on top of Google Maps. The opacity of each layer is controlled with a slider, allowing maps to be faded in and out. The layers can be changed by clicking with the mouse and dragging the map icons up and down.
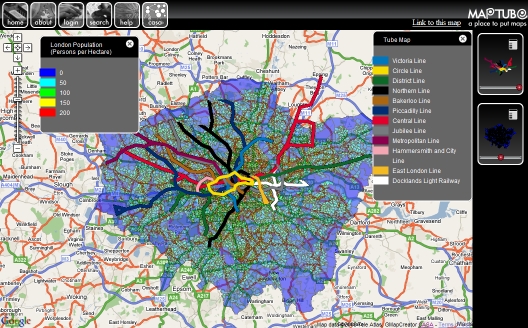
Colour Scales
Every data layer has its own colour scale, which is displayed on the right hand side of the map when it is first loaded. These colour scale windows can be moved around the screen by dragging with the mouse, or turned off.
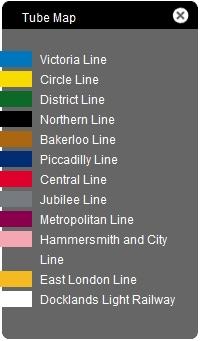 |
Figure 2: Colour scale for the London tube map, showing the colours of the individual lines |
By clicking on the cross in the top right of the colour scale window (see Figure 2), the colour scale can be hidden. When this is done, the icon in the top right hand corner of the map thumbnail panels on the right hand side will change. This icon is a button and can be clicked to bring the colour scale window back.
 |
 |
|
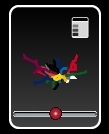
| Figure 3a: Colour scale window visible. Clicking on the icon in the top right makes the colour scale window disappear |
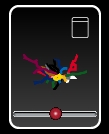
Figure 3b: Colour scale window hidden |
Fading Layers In and Out
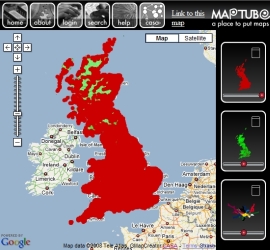
The panels containing the map thumbnails on the right hand side of the window control the opacity of each layer individually. Click on the red dot with the mouse and drag it left to reduce the opacity of the map, or right to increase it.
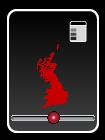 |
Figure 4: The map panel showing the button to turn the colour scale on and off in the top right, an icon representing the map in the centre and the opacity slider control at the bottom |
 |
 |
 |
||
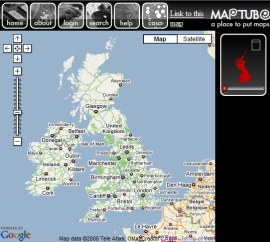
| Figure 5a: Opacity=0%, no data visible |
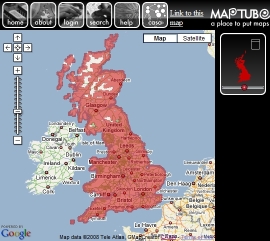
Figure 5b: Opacity=50%, partial data and partial map visible |
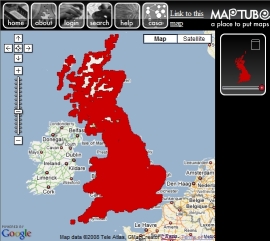
Figure 5c: Opacity=100%, data completely obscures map |
Moving Layers Up and Down
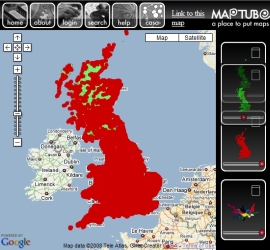
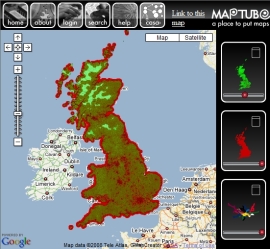
The position of layers can be changed by clicking on the map thumbnails on the right hand side and dragging the panel while holding down the mouse. The layer will move up or down according to its position when the mouse is released.
 |
 |
 |
||
| Figure 6a: The layers in their starting positions |
Figure 6b: Moving the green layer to the top |
Figure 6c: The new map with the green layer on top of the red |
If there are too many layers to fit the height of the window, then red up and down arrows will appear to allow the map layer panels to be scrolled up and down.
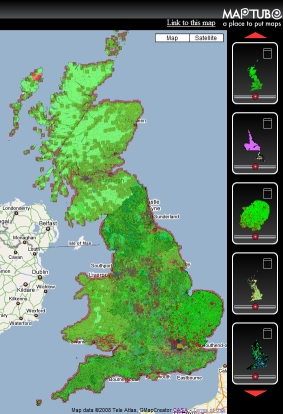 |
Figure 7: The red up and down arrows above and below the map thumbnails are used to scroll the layers |
Editing the Map Selection
By clicking on the 'Search' button at the top of the page, layers can be added to or removed from the current map. The order of the layers, position of the colour scale windows and opacity sliders and the centre and zoom level of the map are all stored when 'Search' is selected. Once back at the search page, use the '-' button on the map panel to remove the layer, or the '+' buttons in the search results to add new layers. The search string can be changed and the search performed again without clearing the current map selection. Once the selection is complete, click on the 'View' button to return to the map page.
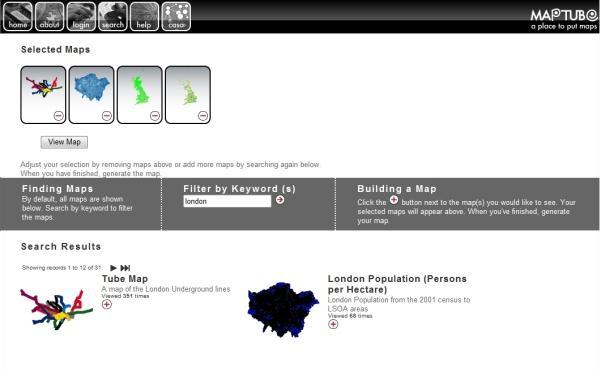 |
| Figure 8: Searching for London data |
Linking to Maps
Copying the URL out of the map window and pasting the link into another page will work, but the order of the layers, opacity and the map's geographical location will not be preserved. To create a link to the current map, click on the "Link to this map" text on the top line of the page near the Maptube logo. When this link is clicked, another page appears containing a URL to link directly to the map. The link encapsulates all the information about the map's centre and zoom level along with all the layer, opacity and colour scale window information, allowing this map to be recreated exactly on another computer.
 |
| Figure 9: Create a link to a map |
Centre for Advanced Spatial Analysis - University College London - 1st Floor - 90 Tottenham Court Road - London - W1T 4TJ - ![]() +44 (0)20 3108 3902 - Email support@casa.ucl.ac.uk
Copyright © 1999-2021 UCL
+44 (0)20 3108 3902 - Email support@casa.ucl.ac.uk
Copyright © 1999-2021 UCL